
How To Screen Record On Windows 10, 11 Using ‘Shortcut Key’
Explore this post with:
Visual content is loved nowadays, and when it comes to teaching, presentation, and giving instructions, all of these are well displayed in video form. That’s why we’re discussing today: how to screen record on Windows to make it more appealing. This guide will let you know different options for screen recording on Windows plus macOS devices. Read on!
How To Screen Record On Windows – Methods!
Recording on Windows happens in two major ways – either by choosing the built-in options or choosing third-party applications, particularly made for recording purposes.
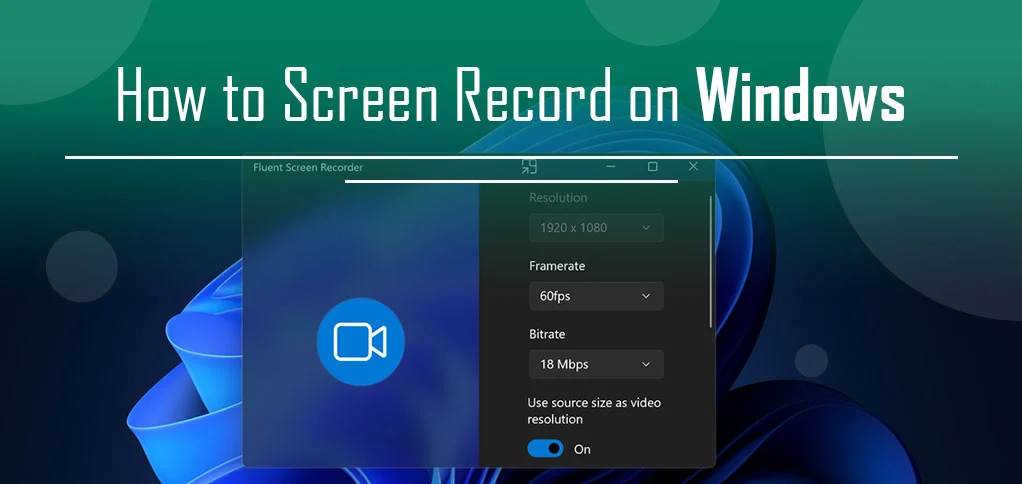
Today, we find out the built-in Windows tools to snap a recording.
Starting with:
Xbox Game
One of the popular in-built apps for Windows for screen recording is its Xbox game option. This is available for Windows 10 and 11 PCs. The primary purpose remains to record gameplay. However, it can be used to record anything on the screen. Learn to record using the Xbox game tool here:
- First: Open Game bar using a shortcut key – Press Windows icon along with letter ‘G.’ You will see a control panel popping-up on the screen at the top.
- Second: If you want, you can enable an audio option for live commentary.
- Third, press the red icon from the control panel and start recording.
- Fourth: After the recording is complete, you can pause or cancel it entirely by clicking the red dot.
Snipping Tool:
Snipping Tool is mostly used for video recording purposes on Windows. Users find it extremely simple, and thus, select it every time they prepare to record on their PC. Let’s learn how to use it:
- First: Open Snipping Tool by typing ‘Snipping’ in the Windows bar.
- Second, choose what you wish to record by selecting the area. You can select the mode using options, such as rectangle, free-form snip, and many others.
- Third: now, press the start button, and on a count of three, the video starts recording.
- Fourth: After recording is complete, it will be saved into a default video folder. Check the video from there.
Drawbacks Of Recording Video Via Xbox Game/Snipping Tool
Although both tools are built for Windows computers, there are some limitations when recording through Xbox gaming and Snipping Tool.
- The recorded videos cannot be trimmed, cut, or changed any way. To do so, users need external tools.
- While you opt for full screen recording, it becomes challenging to record a specific area of the screen.
- You may find that your system slows down during the recording process.
How To Record Screen On Windows 11 With Audio
While video recording, users can enable voice recording as well by tapping the ‘mic-like’ icon. Learn it here:
When you use the Snipping tool:
On Snipping Tool, you have a ‘mic’ icon which you can enable while recording video. To enable, simply tap the mic with a strikethrough and it will start recording audio instantly.
When you use Xbox Game:
Similarly, just by tapping the mic icon, you start voice recording. Even when you put the cursor on the mic icon, it displays, ‘Turn mic on while recording.’ Moreover, you can use a shortcut: Windows Key+Alt+M.
How To Screen Record On Mac
Likewise, on Windows PC, the screen recording process on Mac is smoothly done using its built-in tool called macOS Mojave. Here is the complete process to record on a Mac device:
- Use the shortcuts: press Shift+Command+5.
- You will come to a screenshot toolbar.
- Now, select the recording option, whether want to record the entire screen or just a portion of it.
- Choose some options to make the recording complete. For example, set time, select mic to record videos (if you want), select device location to save the recording, etc.
- Finally, press the ‘Record’ icon, select the area you want to record, and it’s started.
- After the recording is complete, click the stop button. Even better, press shortcut key: Command+Control+Esc.
You can now see it on your device. Plus, editing and sharing is available for your recorded video.
Wrap Up Text
If you use Windows PC, whether it’s Windows 10 or 11, it becomes easier to record on the screen. The quickest option is to select built-in options it has. These are Snipping Tool and Xbox Game. To record, use shortcut keys, such as Windows + G (for Xbox game), and Windows + PrtScr (for Snipping Tool). Users can customise their screen recording based on their requirements, for example, they can select a portion to capture, decide upon keeping voice while recording, and do more. Thanks to Windows for its useful and effective screen-capturing tools.
Frequently Asked Questions:
Qs 1: How do I Record my screen on Windows?
Windows users can record their screen simply by using its Snipping Tool or Xbox Game, both are built-in features.
Qs 2: How do I Record video on my PC?
According to the PC you use, there are some in-built tools, for example, Snipping Tool for Windows users, and macOS Mojave for iOS users. Users can use them, or third-party applications could be a better option for screen recording on PC.
Qs 3: How to screen record in Windows 11 shortcut key?
To screen record on Windows 11, use the shortcut keys: Press Windows + G. This will open up a control panel, in which you select options such as enable voice, area selection for capturing, etc.
Qs 4: How to capture screen on Windows 11?
To capture the screen, one needs to use the snipping tool, an in-built Windows feature. To use it, enter the shortcut key Windows + PrtScr. This will capture the entire screen of your Windows 11 PC. However, you can also search snipping tool in the windows search space, select the snipping tool (looks like a scissor-based icon). Finally, select the area and capture the screen.